I LOVE garlic bread, and I REALLY LOVE cheesy garlic bread! The more garlic and cheese the better! Sometimes I just don’t have the extra time or energy to make it every single time I want it. We use to buy the frozen garlic bread and that was not too bad, but it always seemed like it was more expensive and it was never as good as what I could make at home. So I decided to make my own garlic bread and freeze it so when I wanted it, I could toss it in the oven at a moment’s notice.
I mentioned that it always seemed expensive to buy garlic bread prepackaged. Let’s see what the price difference actually is. Frozen cheesy garlic bread in Southwest Michigan is typically around $2.75 for 8 pieces, or 34.5 cents each piece. A loaf of Texas toast is usually around $2.50 (typically 20 pieces of bread), butter – $0.50 or so, and garlic powder & Italian seasoning – maybe $0.30. So if we stop right there we have a total of $3.30 for 20 pieces or 16.5 cents for each piece of regular garlic bread just waiting for some Spaghetti and Meatballs or whatever goodness you are cooking up.
Cheese is going to determine how big a savings you actually get from making these at home, and your buying habits will make all the difference! With cheese, usually the smaller the package, the more you will pay. I went to Walmart.com and priced shredded mozzarella. They had several varieties of 8 oz packages running from 24 cents an ounce to 31 cents an ounce. They had one brand with a 16 oz package for 19.3 cents an ounce, now doesn’t that sounds better than 31?
I figure most store bought brands probably put no more than a ¼ ounce of cheese on their garlic toast. I like lots of cheese so we are going to go with ½ ounce of cheese per piece of toast. So if we went with the larger package we got the cheese for 19.3 cents per ounce, so half of that would be 9.7 cents per ½ ounce.
Oops! Don’t forget the Parmesan cheese! I just use the regular old shaker cheese variety unless I’m making something that requires fresh parmesan like Alfredo sauce. I figure about 1.3 cents per slice of toast.
This brings our total up to 16.5 + 9.7 + 1.3= 27.5 cents per piece of toast, so we save a grand total of 7 cents per piece of toast or $1.40 per loaf of Texas toast converted to garlic toast.
Just in case you were wondering. If I had went with the more expensive cheese (which probably tastes exactly like the cheaper one) it would be 31/2=15.5(+16.5 + 1.3) = 33.3 cents per piece or a savings of 1.2 cents per piece or $0.24 for the whole loaf.
You save money either way I guess. It’s up to you on whether it is worth the savings. Even if it is not, you still end up with a much better tasting product in the end, made just the way you want it. Hope my inner nerd coming out did not drive you away.
Here is what you need to complete this recipe and have some:
- Equipment:
- To make for freezer:
- Freezer of course
- A baking sheet tray
- A basting brush
- Quart / half gallon/ gallon zip lock freezer bags
- To cook:
- Baking sheet tray
- Full sized or toaster oven
- Ingredients
- 1 Loaf of Texas Toast
- (or your favorite type of bread for garlic bread)
- 2 oz Clarified butter –at room temp
- (or half a stick melted butter if you do not have clarified butter on hand)
- 10-12 oz Mozzarella Cheese
- (or any other cheese or cheese blend you like)
- 2-3 oz Parmesan Cheese (Optional)
- 2-4 tbsp Garlic Powder
- 3-4 tsp Italian Seasonings Herb Mix
- 1 Loaf of Texas Toast
Here we go! This one is very quick and simple!
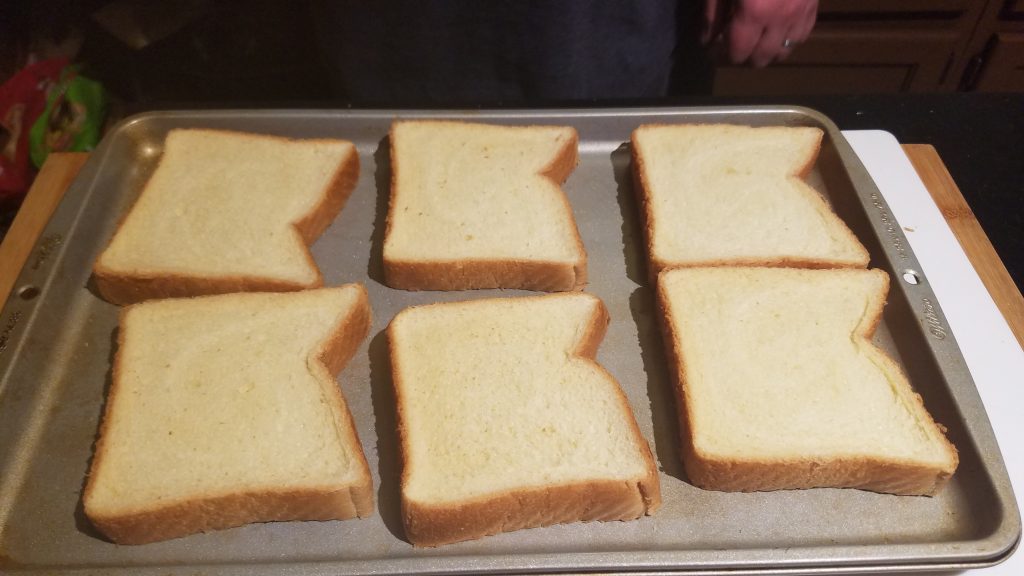
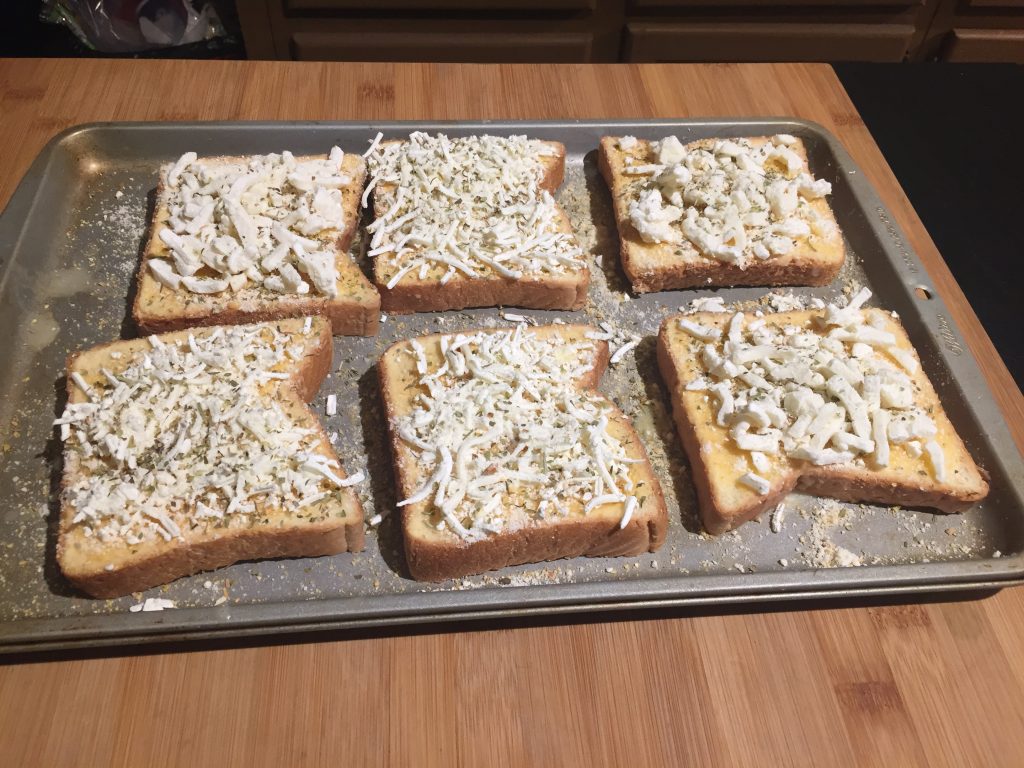
Take a baking sheet tray that will fit into your freezer and lay out as many pieces of bread that will fit easily. I have six on the tray below.
If you are doing an entire loaf of bread all at once you will need multiple sheet pans and the freezer space for them or you will only be able to do one tray at a time.
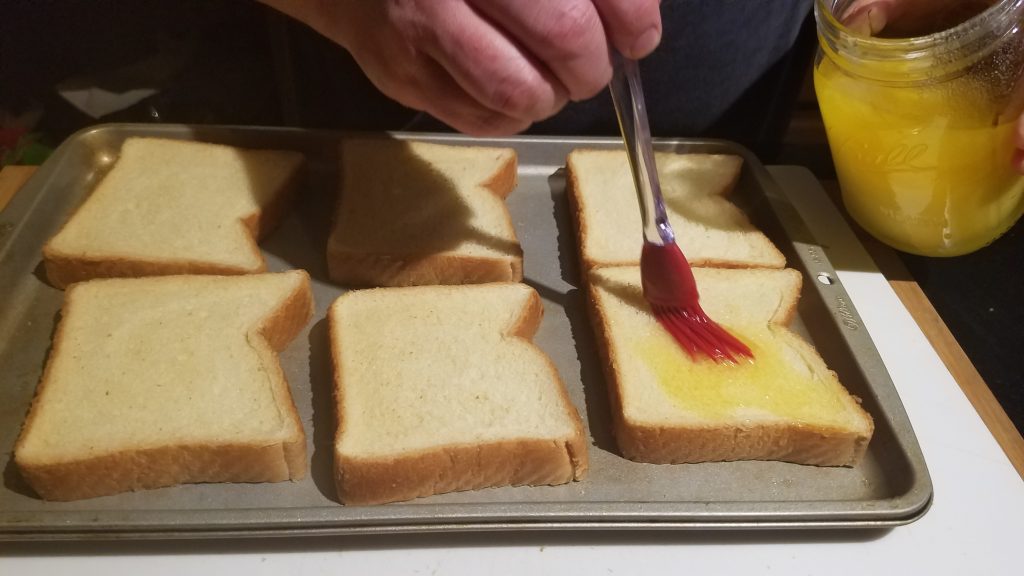
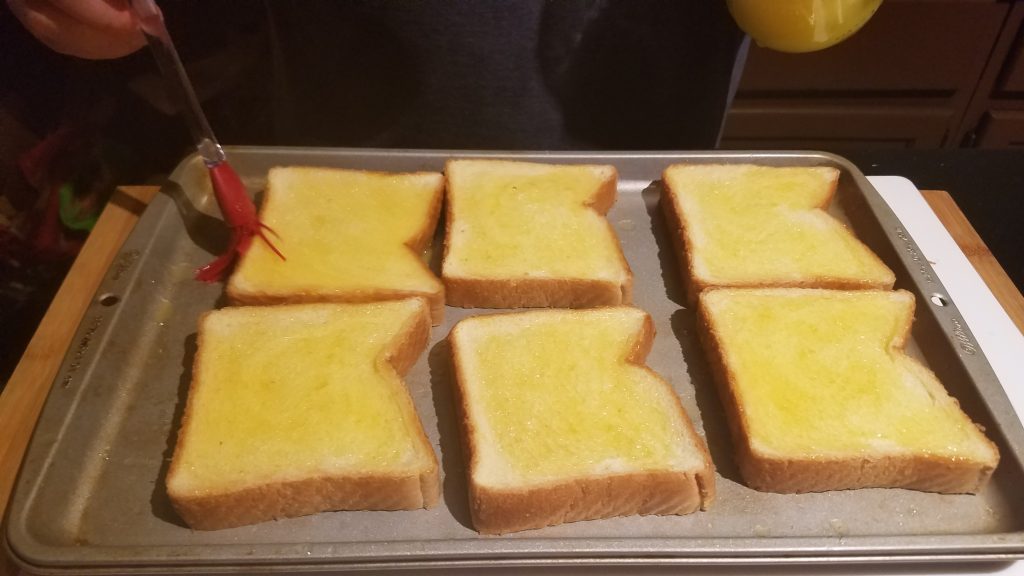
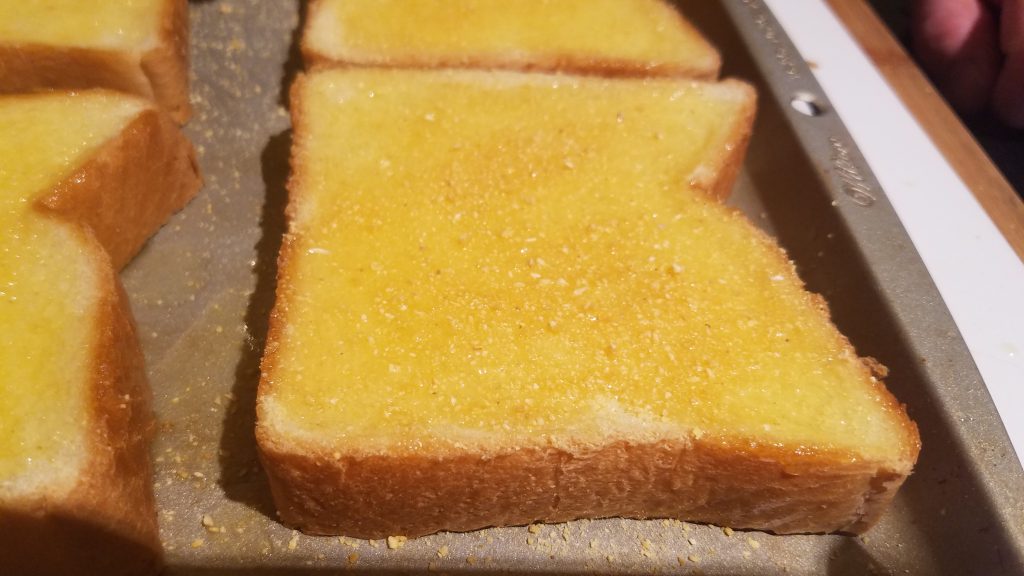
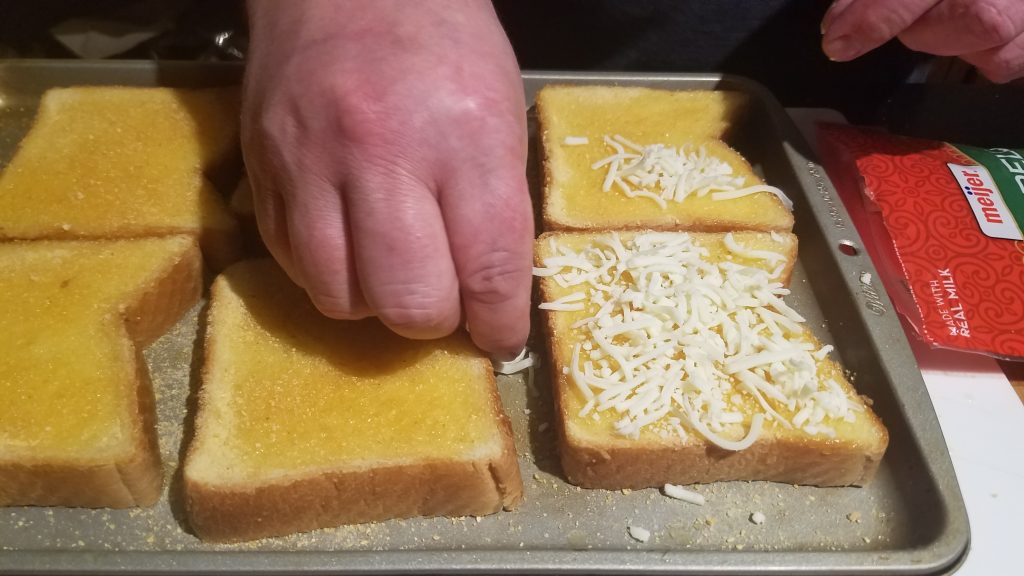
Using a basting brush mop on the clarified or melted butter.
Next is the most important step in the whole process! You have to reach down deep and ask yourself, how much do I really like garlic? If you answer “yeah, sure, I like garlic! Then only put a decent coating of garlic powder on the bread. If you answer “Garlic is my everything!” then get a psychiatrist and triple the amount of garlic powder. I have never had a problem with Vampires…just say’ in.
If you are lactose intolerant then skip down to adding the Italian seasoning, if not, then TIME FOR CHEESE! I change cheeses depending on mood and or what I have around the house. I like to experiment and add different cheeses to things I never thought of before like Gouda on pizza. My favorite is good old mozzarella with parmesan cheese mix, it is a tried and true classic combination. Colby jack is another great blend for cheesy garlic bread, or all three, even better!
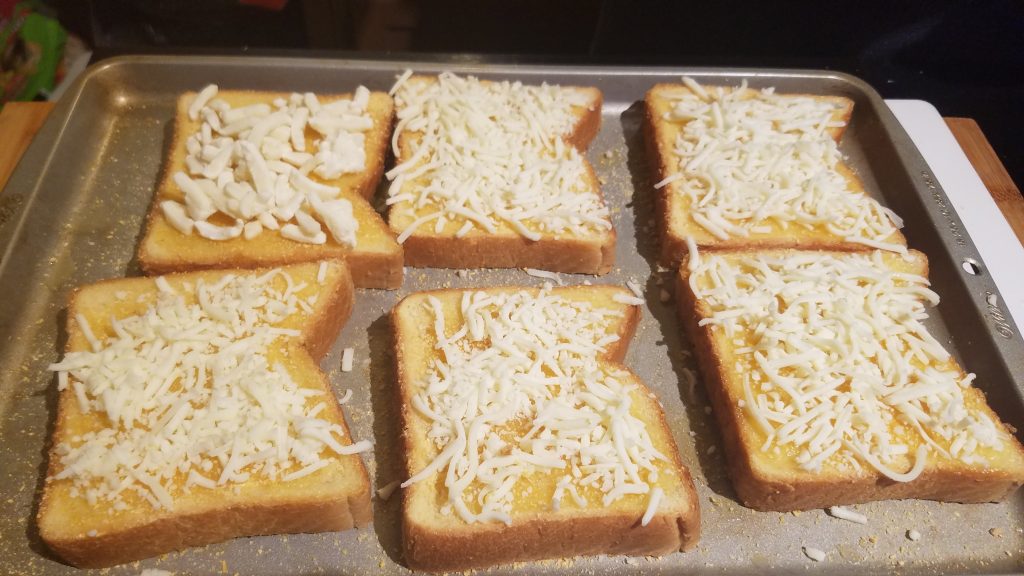
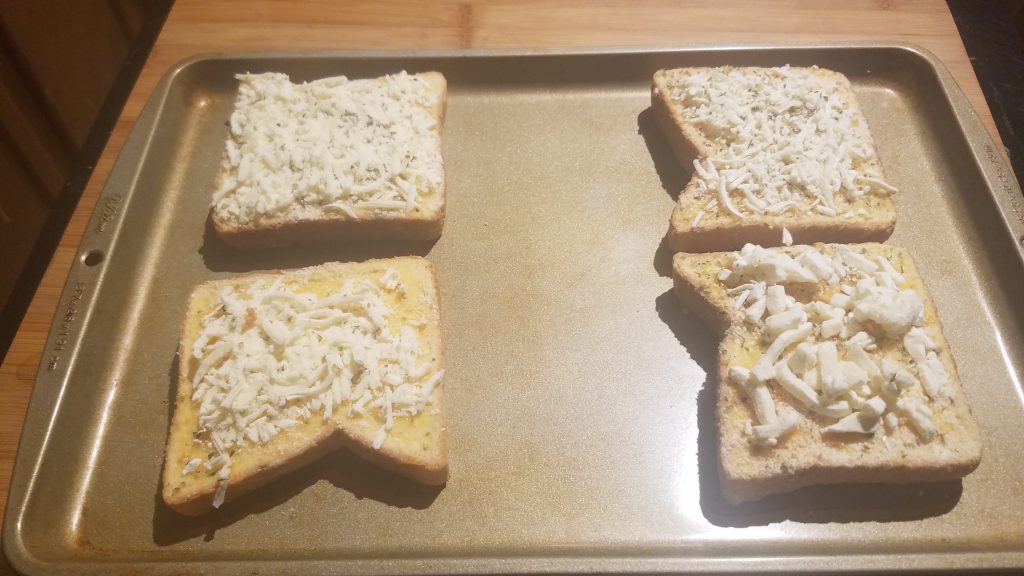
Cover all the pieces with enough cheese to cover them
I ran out of cheese on that last one on the top left, can you tell? In my experience, the larger pieces do not work as well on garlic bread. The medium shred that you see on the rest of the bread works better, and has a better appearance, but it all tastes great in the end anyways!
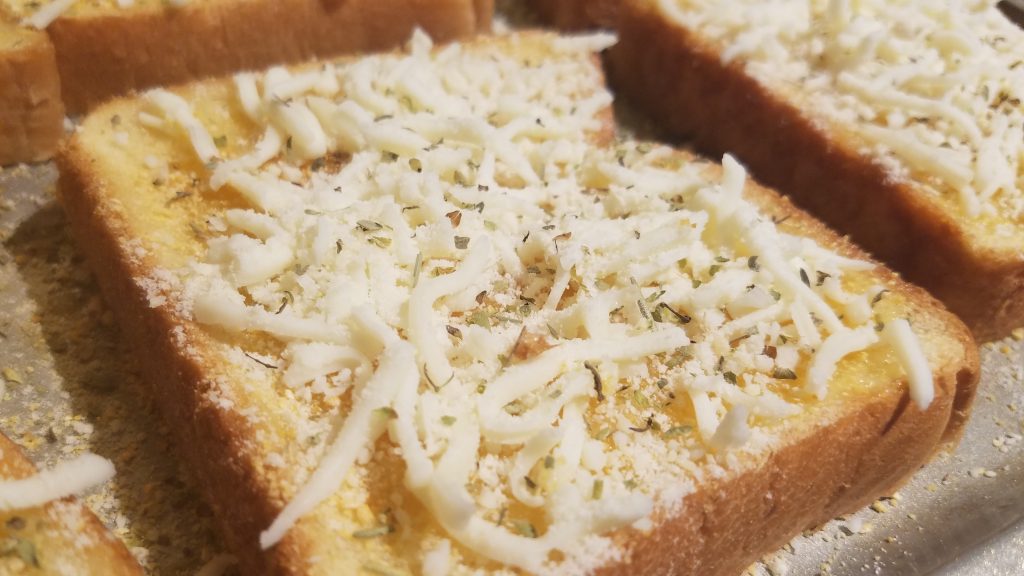
A little parmesan on each piece. You do not need a lot! Parmesan can get overwhelming sometimes.
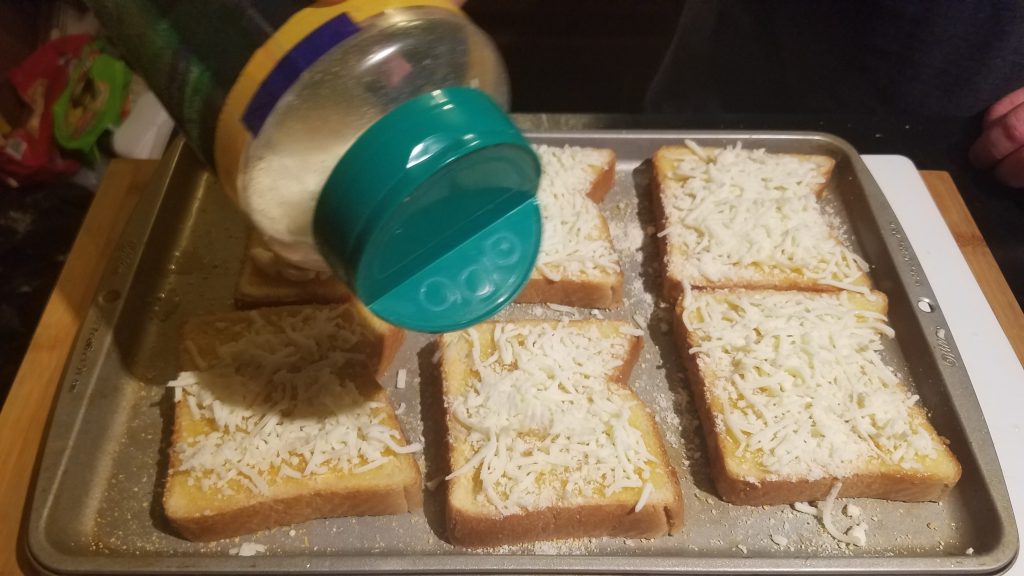
Time for a nice quick covering of Italian seasonings!
Now it is time for either the preheated oven set at 400 ˚F for 5 to 8 minutes or until golden brown
- Or –
Stick the entire tray (s) into the freezer for about an hour or until completely frozen
Here is a fresh tray out of the freezer.
.
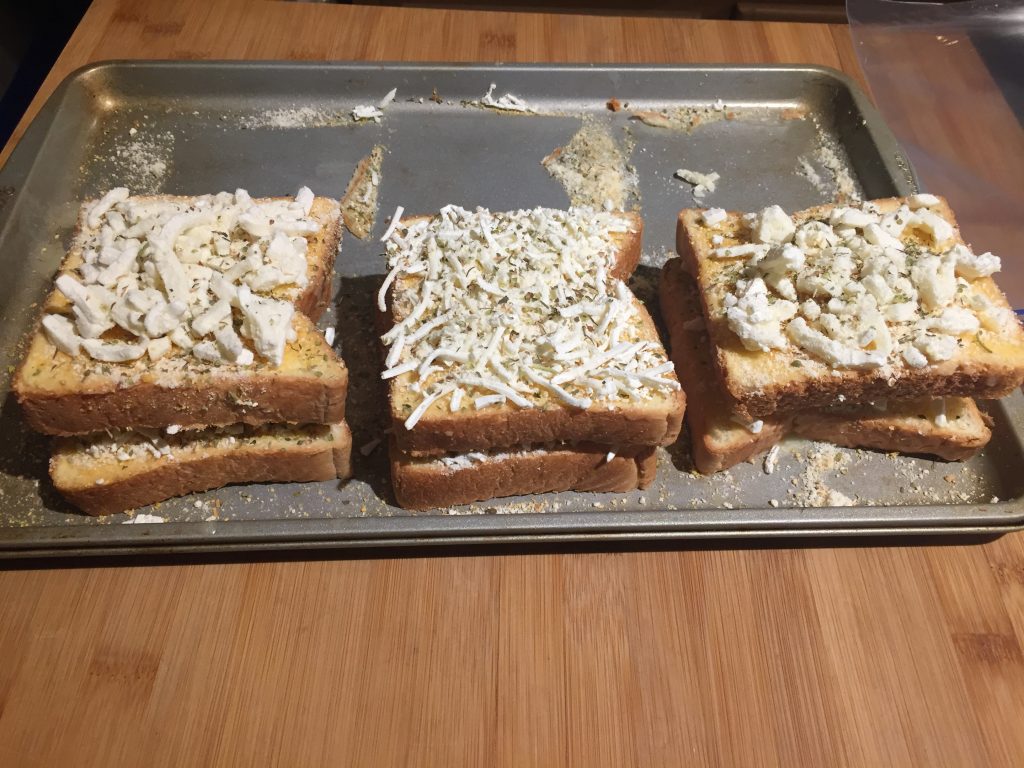
Stack the bread on top of each other like below. You can face them inward cheese to cheese, but you tend to have to redistribute the cheese more often than not.
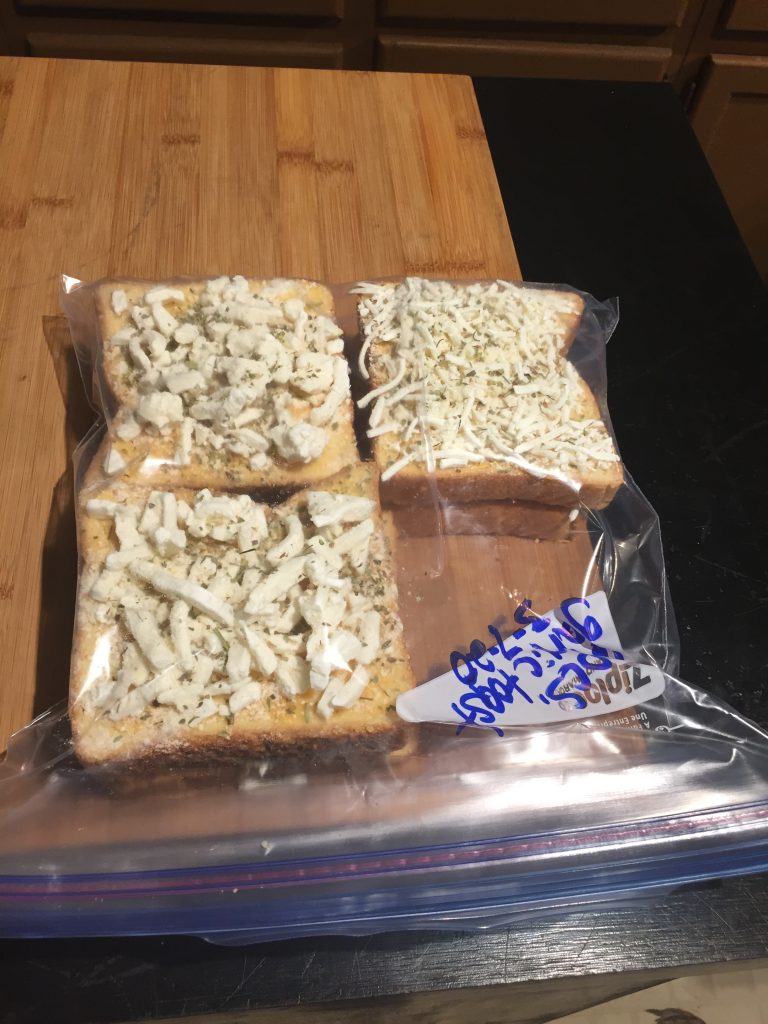
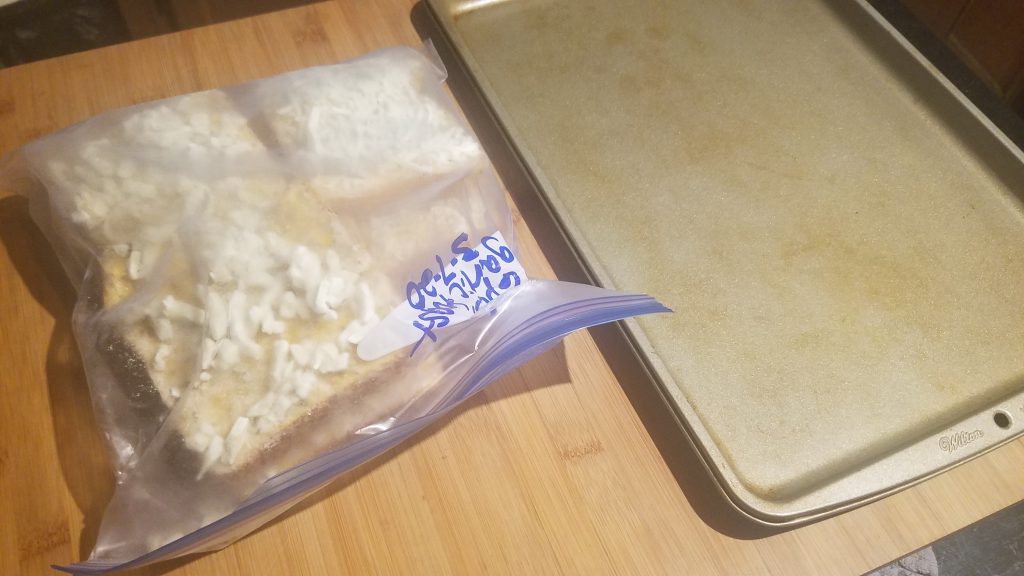
Now stick them into zip lock Freezer bags labeled with the date. 2 pieces will fit in most quart bags, 4 in half gallon, or 8 in gallon bags like the one below. Will stay good for 6 months or so.
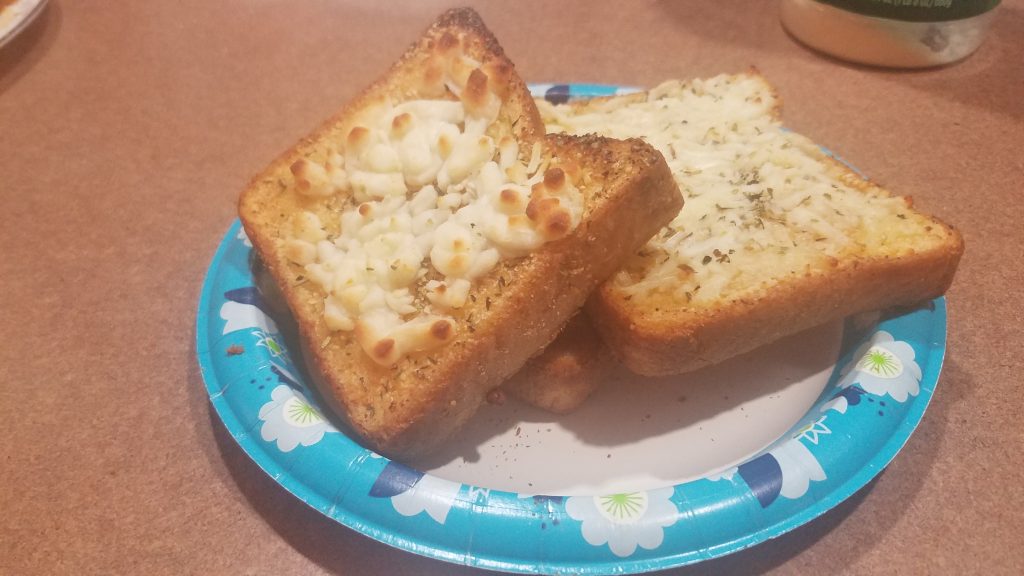
How to reheat
Preheat the oven to 400 ˚F
Remove the frozen garlic toast from the freezer.
Place how ever many pieces as you wish to reheat on baking sheets. Return the unused frozen bread back to the freezer.
Once oven is at 400 ˚F, place the baking sheet (s) into the oven on the middle shelf for 5 – 8 minutes or until golden brown.
Enjoy!!!
** Just a note, all ovens are different. As you can see above the cheese was browning but not really melting. In this case lowering the temperature to 375 ˚F for 8 to 12 minutes, or if your in a hurry, switching the oven to boil and moving the tray to the top rack would probably do the trick. Just make sure you watch it closely as it will go from not done to burnt to a crisp in a moment.
Homemade (Frozen?) Cheesy Garlic Bread on the Fly and a Budget
Equipment
- Freezer – Full Sized
- Baking Sheet Tray (1 or 2)
- Basting Brush
- Zip Lock Bags (Quart/ Half Gallon/ Gallon)
- Full Sized oven or Toaster Oven
Ingredients
- 1 Loaf of Texas Toast or your favorite type of bread for garlic bread
- 2 oz Clarified Butter (room temp or warmer) or 1/2 stick melted butter if you do not have clarified butter on hand
- 10 oz Mozzarella Cheese or any other cheese or cheese blend you like
- 2 oz Parmesan Cheese (Optional)
- 1 Garlic Powder The more the better in my opinion!
- Italian Seasonings Dry Herb Mix I use this stuff on just about everything
Instructions
Here we go! This one is very quick and simple!
- Take a baking sheet tray that will fit into your freezer and lay out as many pieces of bread that will fit easily. I have six on the tray below.
- Using a basting brush mop on the clarified or melted butter.
- Sprinkle garlic powder on the bread to taste preference
- Cover each slice of bread with mozzarella cheese
- Sprinkle Parmesan cheese and some Italian seasonings on each piece of bread
- Either place the baking sheet in a preheated oven set at 400 ˚F for 5 to 8 minutes or until golden brown– Or –Stick the entire tray (s) into the freezer for about an hour or until completely frozen, stack the bread and then place them in zip lock freezer bags. Back in the freezer they go until you need them!
I will immediately snatch your rss feed as I can’t in finding your e-mail subscription link or e-newsletter service. Do you’ve any? Kindly permit me recognize so that I may subscribe. Thanks.
This will hopefully be up and going soon, Thank you!
Very interesting details you have noted, appreciate it for posting.
As a Newbie, I am always searching online for articles that can benefit me. Thank you
I like this web blog its a master peace ! Glad I detected this on google .
I am not sure where you are getting your information, but great topic. I needs to spend some time learning more or understanding more. Thanks for fantastic information I was looking for this info for my mission.
Good day! I just want to give an enormous thumbs up for the great info you’ve gotten right here on this post. I will probably be coming again to your blog for more soon.
Im thankful for the blog article. Much obliged.
Really enjoyed this post.Really thank you! Keep writing. makaberzux